I got to working with the acrylic. I cut the acrylic with a skillsaw with a
plastic/metal blade with many many teeth. My cuts were perfect however... I
should ahve gone to lowes and paid them to laser cut everything for me.
If you are gonna work with acrylic make sure to have it laser cut, it'll
save you time and it'll look better!
Pics:
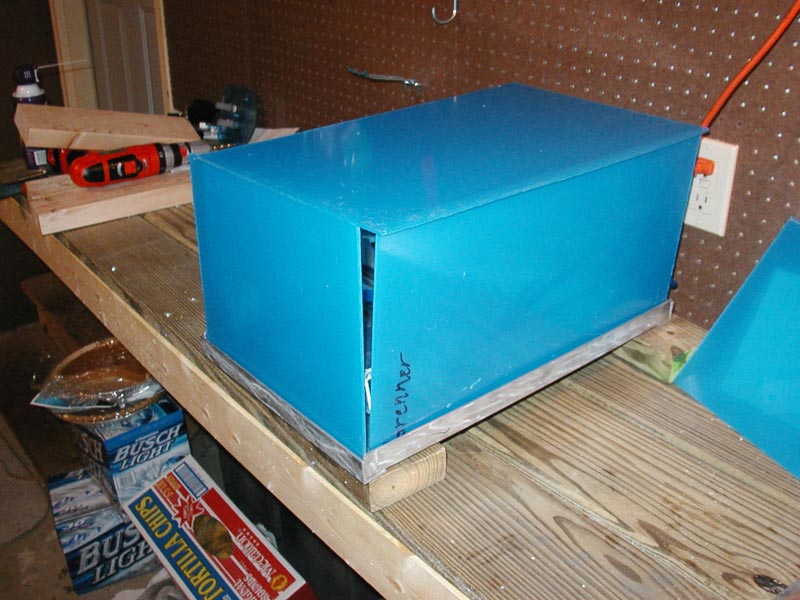
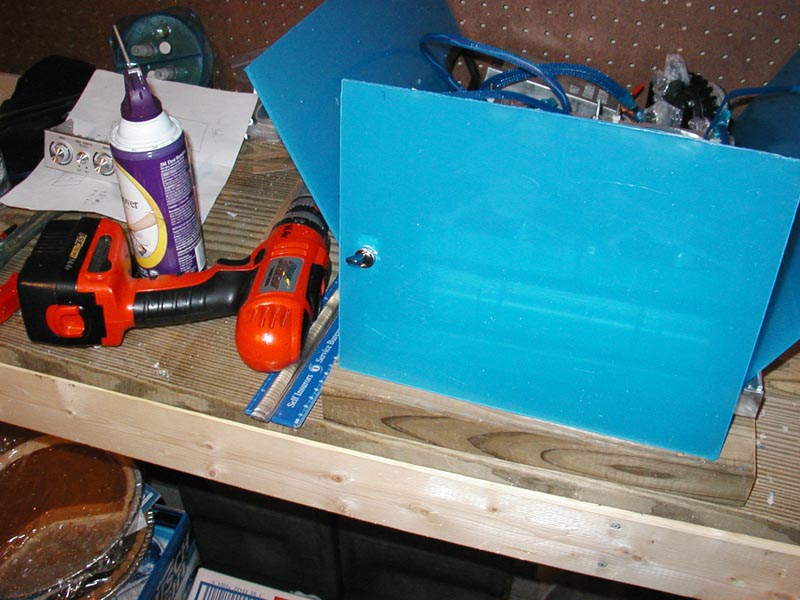
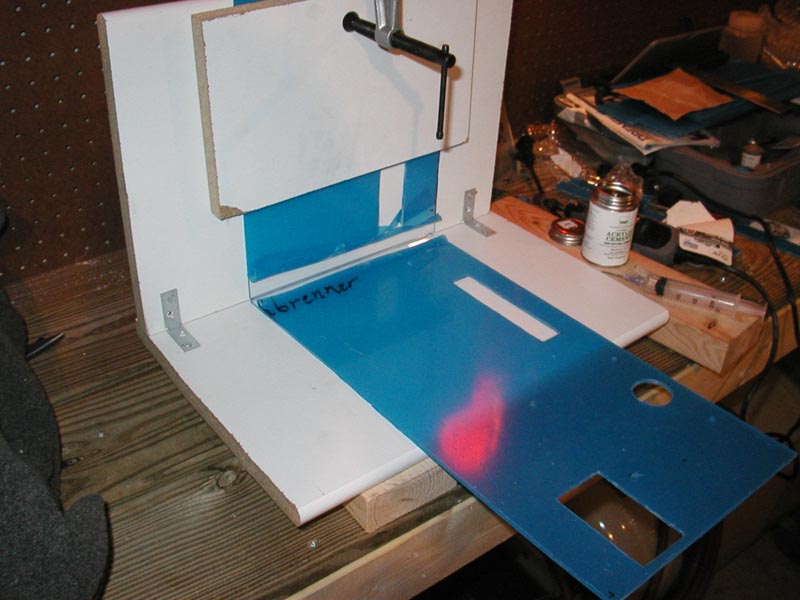
Got the acrylic panels mocked up on the box
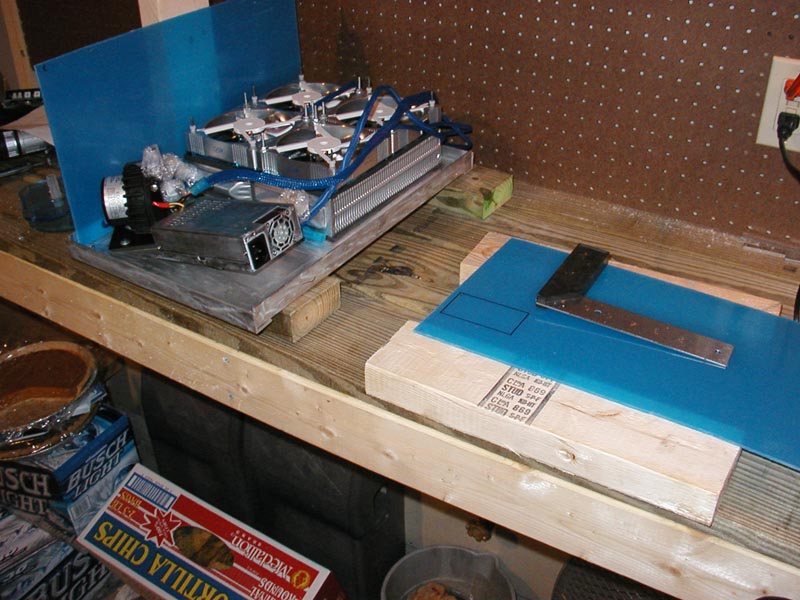
Getting ready to cut out the power supply hole for cable + fan exhaust:
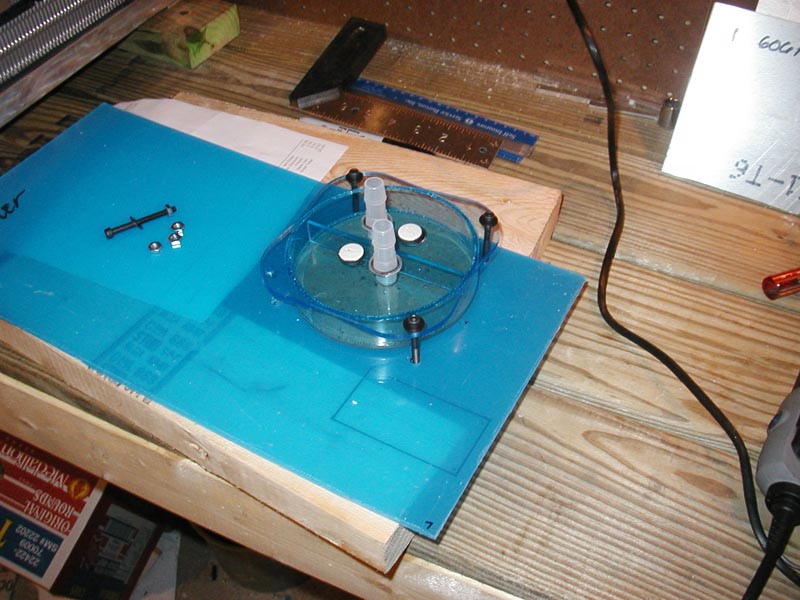
Here I'm mounting and cutting out the holes for my res:
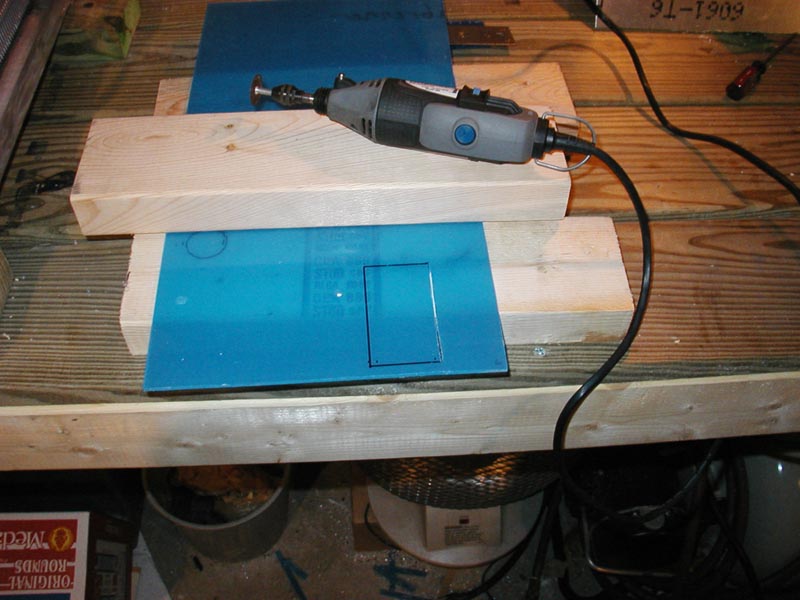
Dremel cutting (wasn't fun at all!)
Drill bit to cut the hole which will house the on and off power sitch
(green and ground from motherboard 20pin connector:
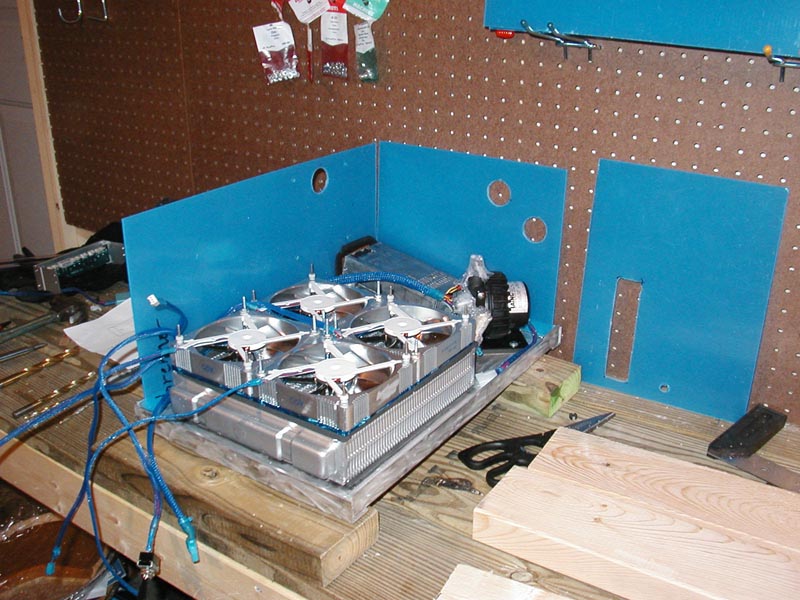
ANother mockup:
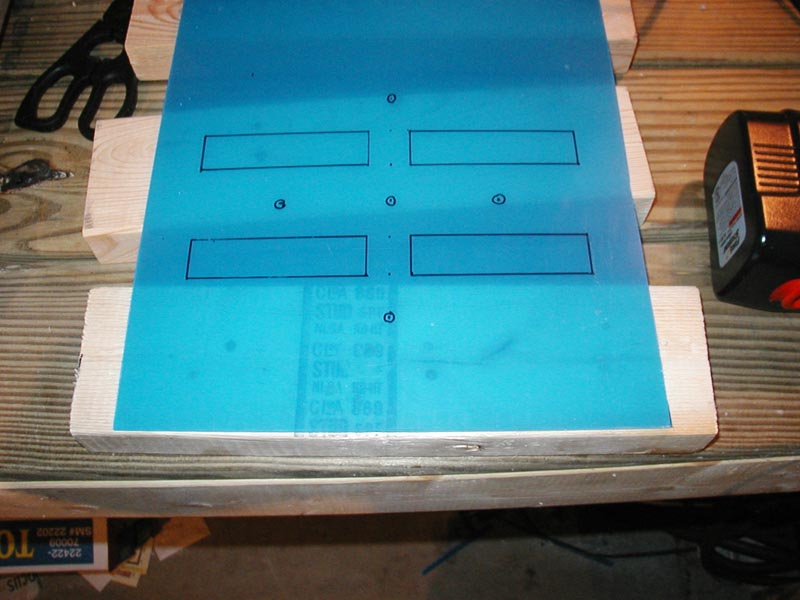
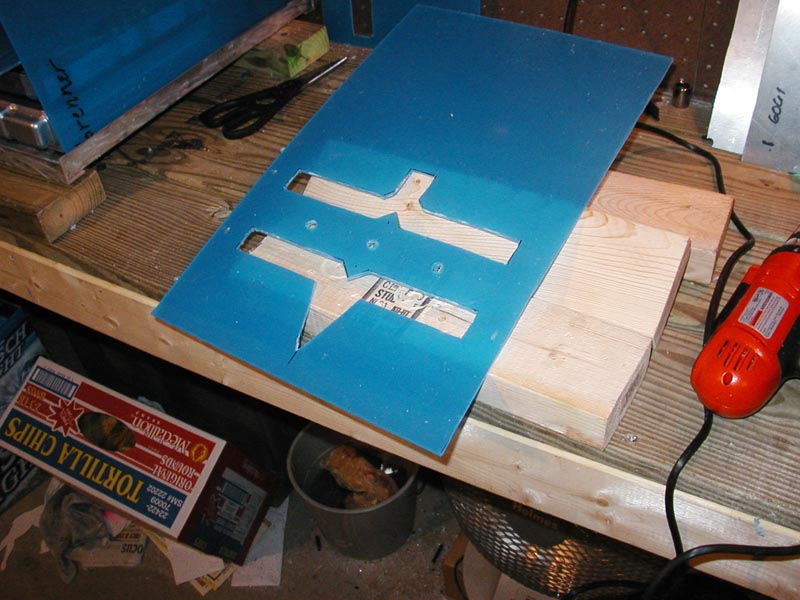
Lid design for air exhaust: I was at a loss on how to do an exhaust for
this bad boy, thought about it for a good 30 minutes... So I said F-it and
did some crap design:
Cutting out the design: As you can tell I got rid of the top and bottom
holes because when I was drilling with my wood bits(should bought acrylic
bits) I ended up making small cracks in the acrylic.. so quick fix, change
design:
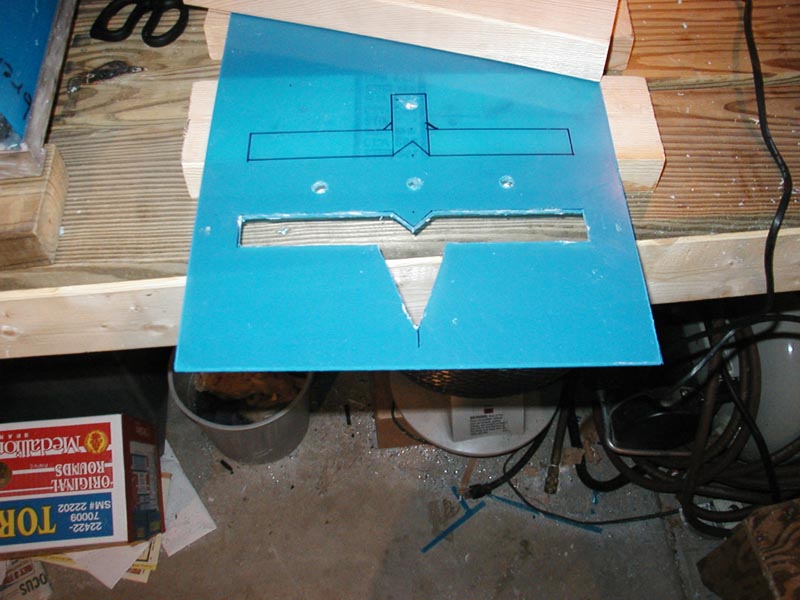
Finnished the lame ass design:
Started acrylic cementing, but I screwed up plus the cement wasn't holding
good enough 3/16" acrylic is a tad thick to cement at its edges:
Soo! I went to lowes and picked up some hardware for the feet (fat hexbolts
and capped nuts which will rest the base 1.5" off the ground. and I decided
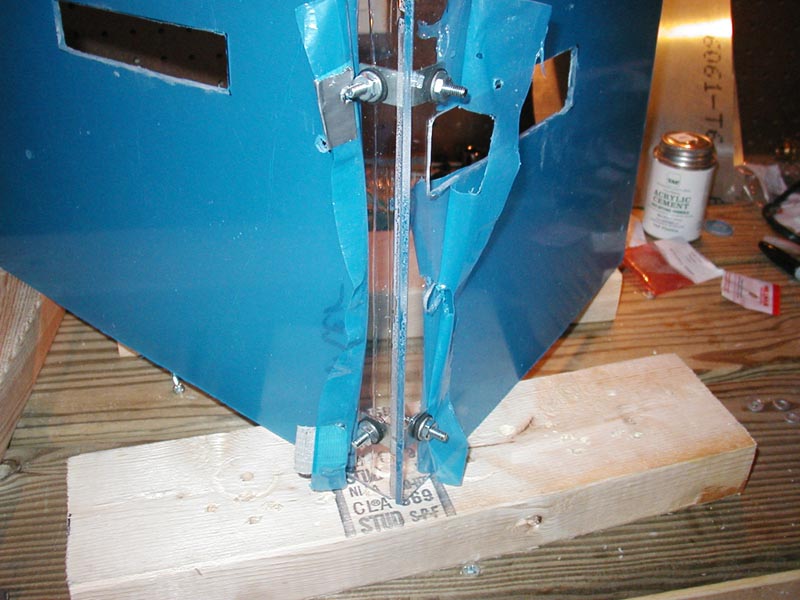
I'd just bolts the acrylic walls together with angle pieces:
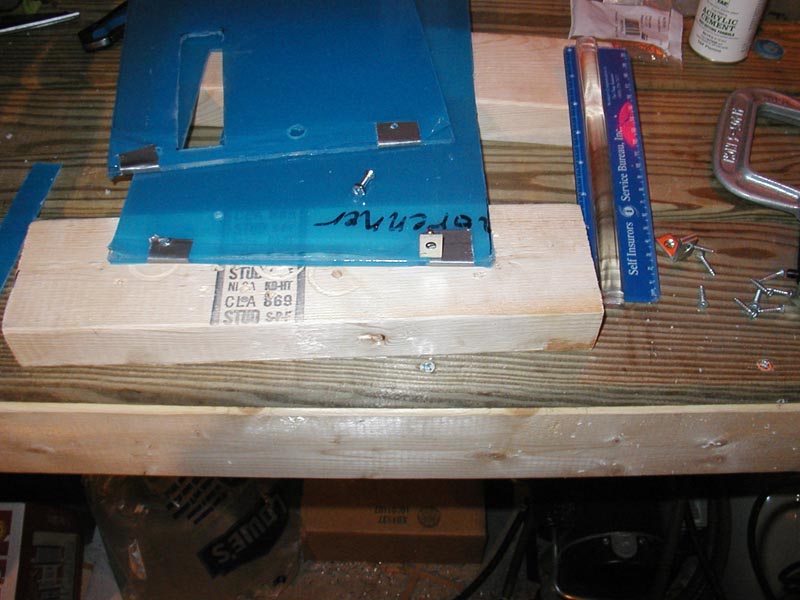
One corner finnished:
all 4 finnished: Doens't look as bad as I thought. I kinda like the bolty
look:

Mocking the lid up top:

so...
Now I'm cementing the 4 joints again while its all bolted up to make the
edges look a bit smoother and add more strength...
Next up I need to use my acrlic hinges and cemeent them to the lid and well
then add the feet and do some finnish sanding and I'll be done!
stay tuned...